
At the point when you need to move on from one Microsoft Exchange service onto the next, for example, from an internal Exchange service to Office365, and need to hold the current profile, then let me tell you cannot do so, you certainly can’t remove the first Exchange account from your profile.
You may have also tried to load a new email account with a new data file to remove the primary account from outlook, but obviously, that hasn’t worked either, and that is just because Microsoft automatically sets the following one (arranged by date) as the new primary account. Well, until and unless you have removed all other Exchange accounts from the profile you surely can not remove the primary account from that profile.
In such circumstances, it is better recommended to make another profile and then set it as the primary account. Notwithstanding, you can approach removing the primary account by two alternate methods. To make it simpler for you, I have mentioned both these methods in the next section of this article.
Quick Overivew
How Can I Change or Remove the Primary Account from Outlook
I have included detailed steps for both the methods so please go through the methods thoroughly and implement any one of them and see if it helps or not.
By adding a new PST file
Well, this method is totally great in the event that you have one or two accounts on Outlook Express.
Note: Before implementing the steps in your Windows computer, I would recommend that you must close the Outlook application.
This is what you need to do in order to further proceed with this method:
1) Press the Windows+R button
2) Type Control and click on OK
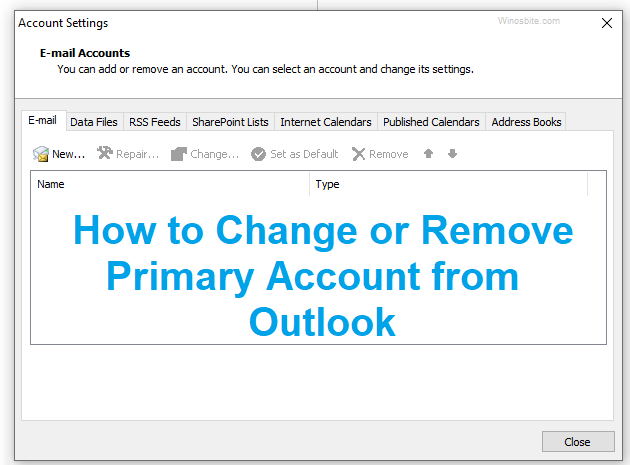
3) Now click on the Mail icon > E-mail Accounts

4) Now in the E-mail tab, remove all the secondary accounts first and then remove the primary account (identified with the checkmark present on the left-hand side of the Account settings screen, as shown below).
5) Now switch to the Data Files tab and then click on the Add button and then just browse to the location where you have stored your PST file.
6) Next just set it as default by clicking on Set as Default.
7) Now click on the New button as shown below so as to add a new account as a primary account.
8) Now exit the Control Panel and close every other window.
9) Now restart the Outlook application and go to the Account Settings section.
10) Now you need to check whether the OST file is set as default or not, in case if it is not then please set it as default by clicking on Set as Default.
11) That’s it now simply restart the Outlook application and you will see that the new account is set as primary.
Well, I hope after this the primary account will be removed. If the primary account still exists go on with the next method.
By making a new profile
This method is meant for those who prefer not to retain profile settings or those who don’t want to keep their previous profile.
Note: Make sure to close the Outlook before you process the steps:
1) Press the Windows+R button
2) Type Control and hit the Enter key
3) Select Small icons from the Category

4) Click on Mail (32-bit)
5) Click on Add

6) Now enter your desired profile name and then click on the OK button.
7) Now you will have to utilize the Auto Email Account Setup to configure the new account and to insert email credentials.
8) Next navigate back to the Mail window.
9) Now select your new profile from the list and make it the default choice by clicking on Always use this profile.
10) Click on the Apply button in order to save your changes and preferences.
11) Now just remove the previous primary account by clicking on Remove.
By editing the registry using the Registry Editor application
Well, this method is totally great in the event that you have a ton of Exchange accounts. For cases of this method, it’s way more proficient to edit the registry as a result the primary flag is simply deleted and hence you can then securely remove the primary account from outlook.
1) Press the Windows+R button
2) Type regedit and click on OK button
3) Navigate to the profile key (depending on the Outlook version), I have mentioned the path according to the Outlook versions.
- For Outlook 2010 the path is ”HKEY_CURRENT_USER\Software\Microsoft\Windows NT\Current Version\Windows Messaging SubSystem\Profile\“Your profile name”
- For Outlook 2013 the path is ”HKEY_CURRENT_USER\Software\Microsoft\Office\15.0\Outlook\Profiles\“Your profile name”
- For Outlook 2016 the path is ”HKEY_CURRENT_USER\ Software\Microsoft\Office\16.0\Outlook\Profiles\“Your profile name”
4) Now press the Ctrl + F key from your keyboard and then search space type 001f6641 (for Outlook 2016) or type 001f662b (for any earlier versions other than Outlook 2016) and hit the Enter key.
5) In order to be sure that it is the primary account just look at the address inside the data file, on the off chance that you see your email there, you can securely delete/erase this key.
Note: You will have to delete the whole key (present on the left side), not simply the registry value. To do it just locate the correct key for deleting and then right-click on it and select the Delete option.
Well, that’s it hopefully after this the primary account from outlook will be removed. If the primary account still exists go on with the next method.
Well, I hope after this the old primary account will be removed.
That’s it guys this was how you can change or remove the primary account from outlook. I hope you guys find my article useful. Please do not hesitate to comment if you have any queries or doubts.


