
The Registry contains important settings and configuration data of Windows and the applications on it. Therefore, it is significant to take its backup if you are going to modify it. If any error occurs while the modification, you can always restore the Registry back. The Registry can either be backed-up automatically or manually.
Here I am going to guide how to take Registry backup on Windows 10 and listed methods work with Windows 8 and 7 as well.
Manual Backup the Registry
You can easily take the registry backup on your system, I will mention the easiest way to take the backup using Windows 10 inbuilt feature:
Using System Restore
1) Click on Windows button and type Create a restore point and click on it

2) Under System Properties tab, select the System drive under Protection Settings and click on Configure. Usually, a system drive is C drive

3) Click on Turn on system protection and click on Apply and OK

4) Now click on Create in the System Properties window and name the backup. For example, you can name it as Registry Backup 1
5) Now, click on the Create button
6) Click the Close button and then, select OK

This will not just create the registry backup, but will also create a system restore point that can be used in case if Windows system files corrupt.
Automatic Backup
To do automatic backup of Registry follow, the below-given steps:
Method 1: Using Registry Editor
1) Press Windows + R button, type Regedit and click on OK

2) Select Yes if prompted by User Account Control
3) Now, go to HKEY_LOCAL_MACHINE\SYSTEM\CurrentControlSet\Control\Session Manager\Configuration Manager

4) Right-click on Configuration Manager and select New, then DWORD (32-bit) Value

5) Right-click on the New Value and select Rename. Rename it as EnablePeriodicBackup

6) Now, double click on it and set Value data to 1.

7) Click on OK and Restart your system.
Now, your Windows system has been configured successfully to take an automatic registry backup.
To take an entire system backup, you may consider free backup software for Windows that will make your life easier.
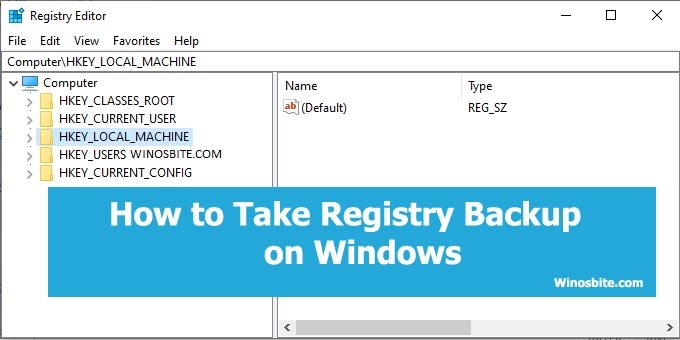
Method II: Using Registry Editor for the whole backup
1) Press Windows + R keys
2) Type Regedit and press the Enter key
3) Select Yes if prompted by User Account Control
4) Click on File at the top and select Export

5) This will open the Export Registry File window. The backup will go to the Documents folder by default. Here you can change where you want to store the backup.
6) Now, type a name for the backup file under “Filename” and select Registration Files (*.reg) under Save as type
7) Select All in the export range and click on Save

Don’t forget to check the best hard-drive cloning software for Windows.
Method 3: Using Registry Editor for individual backup
1) Press Windows + R, type Regedit in the Run box and press Enter
2) Navigate to and select the hive or key in Registry Editor you want a backup for
3) Then, go to File > Export
4) Give it a name in Filename.
5) Select Registration Files (*.reg) in save as type.
6) Click on Selected branch in Export range and then click on Save
Conclusion
There are several software available to take the Registry backup, however, above mentioned methods are the easiest way to take the backup of your registry without using any software and can be used in case of emergency. Hope, provided information is useful for you.


