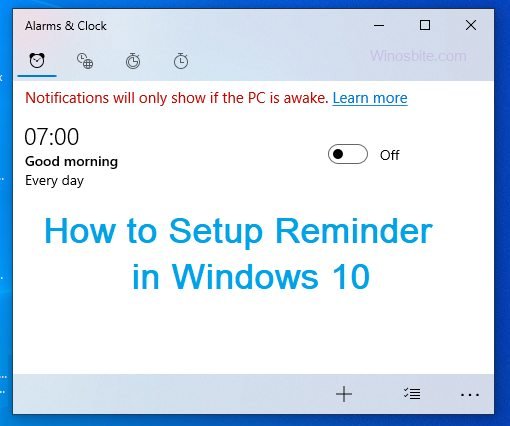
If you spend more time on the computer then setting up an Alarm in Windows 10 can help you a lot without using any app or third party software. Utilizing your Windows 10 computer system as an alarm clock will be extremely useful. Along with setting notifications while at work, it will work as a reminder.
Steps to Set the Time in Windows 10
Before setting an alarm, you must set the time in Windows 10 in the following manner:
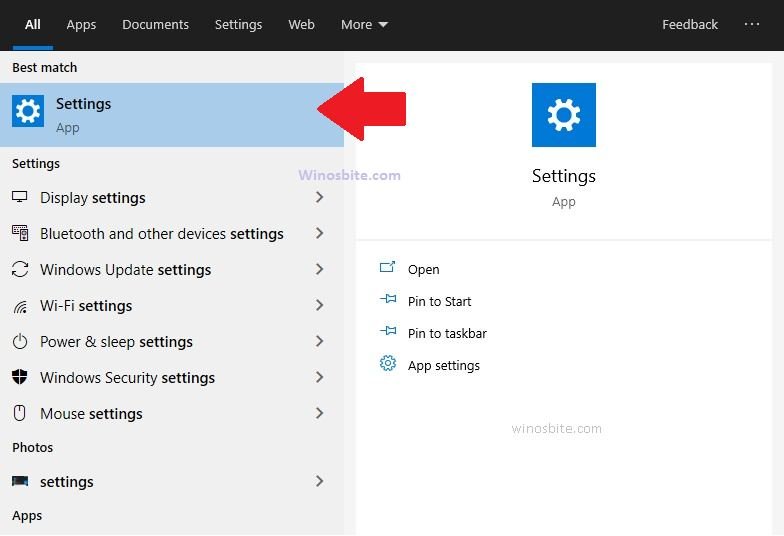
1. Click on Windows logo, type Settings and click on it
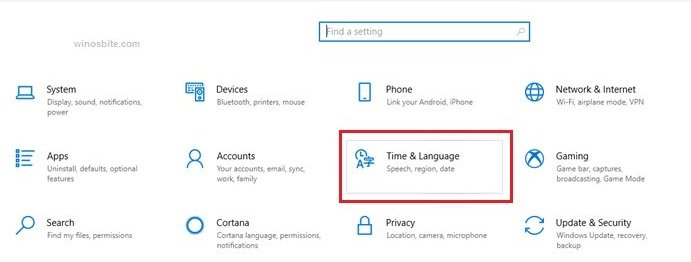
2. Clicking on the “Time & Language” option from the menu
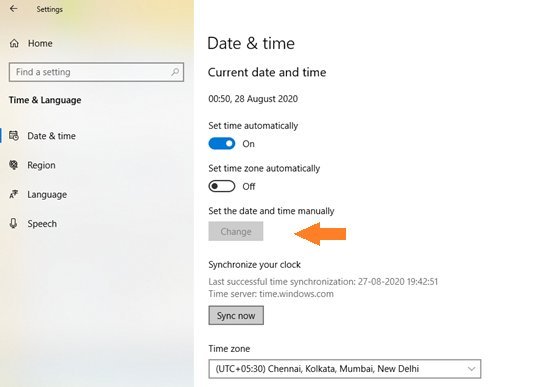
3. To determine time automatically, you must switch on the “Set time automatically” option.

To manually set the time on the Windows 10, you must have to disable these settings:
- “Set time automatically” and
- “Set time zone automatically”
4) Clicking the “Change” option under “Set the date and time manually” option will let you enter your desired time and date.
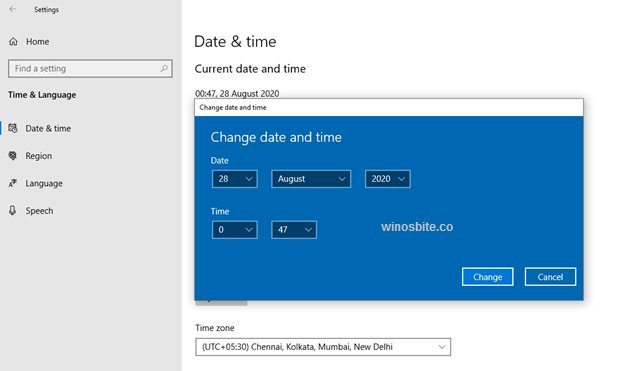
- Once done, clicking on the “Change” button will save the settings.
Step by Step Instruction of Setting An Alarm in Windows 10
Once done with the setting of time, it is time to set the alarm. Below is a step-by-step instruction that you must follow to set an alarm in Windows 10:
- Typing “Alarm” in the Windows search box followed by clicking on the “Alarms & Clock” option.

- Click on the Radio button to enable the Alarm

- Also, you may set the sound of alarm along with snoozing time and number of times the alarm to repeat.

Clicking the save button (floppy) in the lower right corner of the respective window will save the settings as specified.
Configuring the Computer System to Prevent from Going to Sleep Mode
In most of the computer systems, the alarm screen will produce a notification only if the system is awake. Hence, it is better to configure the computer to prevent from going to the sleep mode by these following steps:
1) Click on Windows button and type “Sleep”
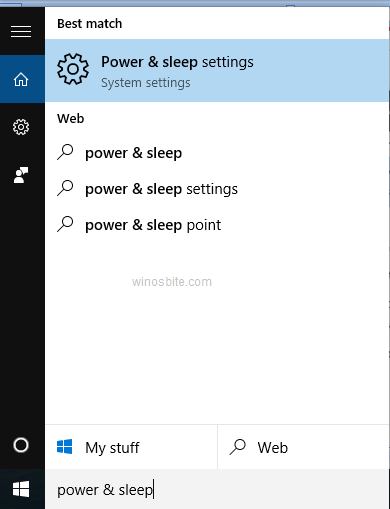
2) Click on on “Power and sleep settings”
3) Under Sleep sub-heading, click on the drop-down menu and choose Never
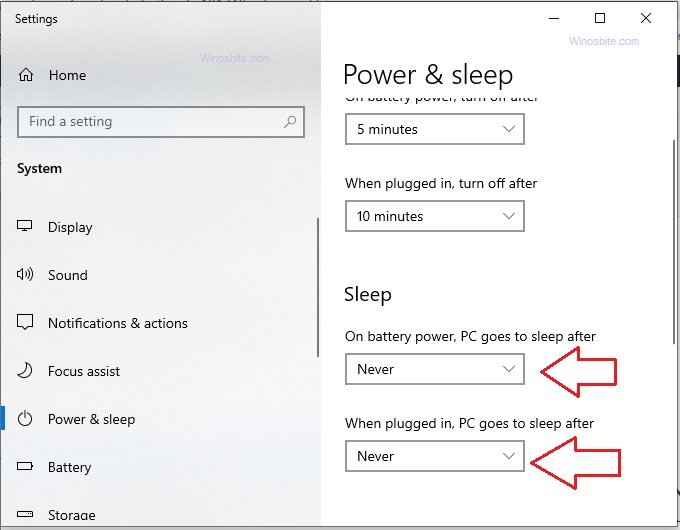
4) Just below, there is another drop-down menu under ‘When plugged in, PC goes to sleep after’ choose Never.
A Windows 10 alarm clock will let you organize and plan your regular schedule smoothly. If the “Alarms & Clock App” is not responding better get it re-installed anew. Else, you may use a third-party app like VLC player for scheduling your task.

