
Pagefile.sys is a file that is created and managed entirely by Windows for the purpose of storing data when the system runs low on RAM (random access memory).
This pagefile.sys play an important role in the Windows PC or laptop. A lot of users are usually confused about its function. Hence, if you have the same query, then you are on the right page to obtain the necessary information about pagefile.sys.
Though Pagefile.sys serves as the virtual memory for Windows, yet some large pagefile.sys consumes a lot of free space. Sometimes the file size of pagefile.sys could be in a few GB.
Therefore, some users prefer removing them from the hard drive of their Windows PC. So, if you are equally inquisitive about it and wish to know how to remove pagefile.sys, then you can find the guidance of the same in this post as well. It might be a little complex for laymen; however, if you understand ramifications, then removing it could be a breeze.
What is Pagefile.sys and its function?
Pagefile.sys, also known as the paging file, swap file, virtual memory file is a Windows system file. Windows uses this file as Virtual Memory (disk space) when enough RAM is not available in the system.
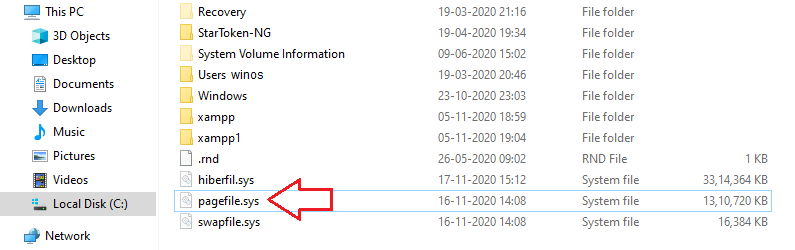
- The page file is in the hard drive or SSD and is critical to the function of Windows, even though it uses a lot of storage space. You can find the page file in the C:\pagefile.sys.
- The file size varies as per the need and is determined by Windows. However, you will find the provision to change the file size manually too.
- The pagefile.sys file won’t be visible in Windows OS until you enable the “Show hidden files and folders” option and disable the “Hide protected operating system files.”
- Windows typically utilizes RAM to store all the data it is dealing with at a certain point in time because it is faster to read the data from RAM.
- But when the RAM is massively consumed, then Windows automatically shifts some data from RAM to the paging file in the hard drive or SSD.
- When the paging file memory is needed again, then Windows shifts the previously paged data to RAM and instead writes some other content in the paging file of the hard drive. So, in this way, Windows keeps juggling data to manage the space.
- Windows usually send the least used information to the paging file for storage.
- Besides this, pagefile.sys also stores information related to the computer’s state when it crashes or experiences a power cut.
How to remove Pagefile.sys?
If you are thinking of removing the Pagefile.sys from your computer to make some room in the hard drive, then let me tell you that you cannot downright delete the file. As it is a Windows system file, so when you try to delete it, you will get a prompt message like “permission denied.” Thus, you will need to follow some specific methods to delete the pagefile.sys.
But it may not be the right thing to delete the page file as Windows depends on it for managing the data storage of the system.
You can instead try to move it to the hard drive (if it is available) from the SSD. However, if you still want to go ahead with your decision of deleting the pagefile.sys, then follow the below steps:
1) Right-click on This PC and click on Properties
2) Now click on Advanced system settings located on left-hand-side

3) Under the Advanced tab, click on Settings located under Performance.

4) Another window will open after this, where you can again go to the Advanced tab and click on the “Change…” button under the Virtual memory

5) Further, you can deselect “Automatically manage paging file size of each drive” and set C: to “No paging file.”
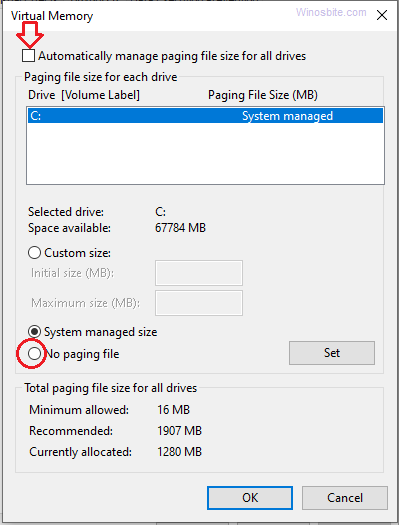
6) Then, you can choose another drive for “System managed file.”
Ultimately, restart your PC or laptop to complete the process of deleting pagefile.sys from the system and moving it to another hard drive.
Final Words
So, this is all about Pagefile.sys and the way to remove it from Windows 10, 8 and 7. However, it is advisable not to mess things up by removing it and let Windows manage it in the best possible way.
I hope, you have found what you were seeking through this post. Feel free to leave your comments and keep watching this space for more updates and posts that could help you in significant ways.


