
An original SrTasks.exe file belongs to the Windows Operating System, which is used for a task scheduler. This allows creating a system restore point. It is known as System Protection Background Tasks.
Many users have complained that SrTasks.exe taking high CPU resources from 70% to 100%. Here I have shown how to fix this issue on a permanent basis.
Quick Overivew
File Size and Location
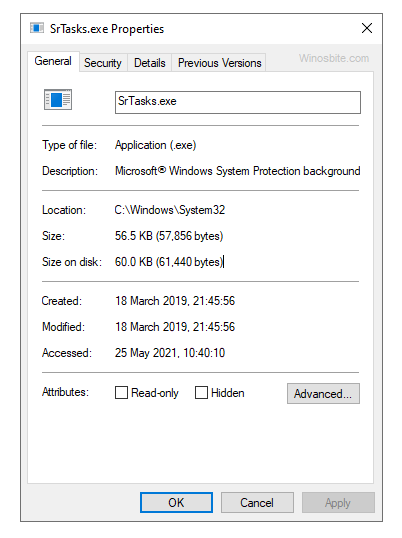
The SrTasks.exe can be located in the C:\Windows\System32\ folder and it can be identified as a Win32 file type. The file size is about 60 KB in Windows 10.
Quick Overview
| Filename: | SrTasks.exe |
| File description: | Microsoft Windows System Protection background tasks |
| File version: | 10.0.18362.1 |
| File Size: | 60 KB |
| Product name: | Microsoft® Windows® Operating System |
| File type: | Executable Application |
| Copyright: | Microsoft Corporation |
| Language: | English |
Is SrTasks.exe a Virus or Safe?
SrTasks.exe is a genuine file as far as it is located under the System32 folder. If it is located in any other location of the C drive then SrTasks.exe could be a virus.
Here is a quick way to identify whether SrTasks.exe is malware or a safe file. Make sure to show hidden files, folders and drives in the Operating System and un-check the ‘Hide protected operating system files’.
1) Press the Windows + E button together
2) Click on Local Disk (C): drive on left hand side
3) Now type SrTasks.exe on top right-hand side under Search Quick access
4) Wait for a minute so that system can find the file and show it to you
5) Now, it will show SrTasks.exe 2-3 files
6) Now you can check the file location and identify whether it’s malware or a safe file.
A genuine srtasks.exe process properties will look like this:
What Does SrTasks.exe Do?
This file is imperative for taking system screenshots. It is generally utilized by the Task Scheduler to create mechanized restore points for the system. These restore points essentially work as a time machine, and they can restore your system back to a point where the issue itself was non-existent.
SrTasks.exe and High CPU Usage
SrTasks.exe usually not consumes CPU or Memory. However, few users have a complaint that SrTasks.exe takes a lot of CPU resources due to the fact that its main purpose is to create restore points for the system as a whole and so, it does enjoy some extra privileges. However, if you find that your system is eating up an unusual amount of system resources, here are a few solutions you can employ to terminate such issues.
If SrTasks is continuously taking high resources like 75% or 90%, then just restart the system. Sometimes this could be a temporary issue, and restarting the system may fix the problem.
How to Disable SrTasks.exe?
Method 1: Disable System Protection
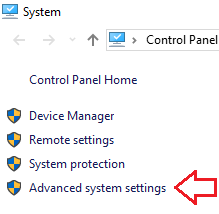
1) Right-click on This PC choose Properties
2) Click on Advanced System Settings
3) Go to the System Protection tab and click on Configure button
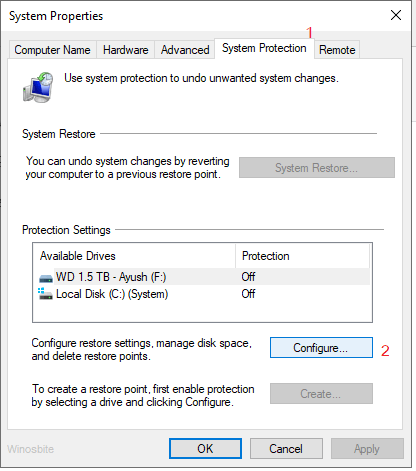
4) Now choose the radio button ‘Disable system protection

5) Now, click on Apply and OK button
Now, restart the system, SrTasks won’t be running anymore in the system background.
Method 1: Run dism command
1) Press the Windows + R button
2) Type CMD and press Ctrl + Shift + Enter button
3) A pop-up window will open click on Yes
4) Now type the below text and press Enter
DISM.exe /Online /Cleanup-Image /RestoreHealth
5) For for few minutes to finish the process.
The above command will try to fix the corrupted files on your system.
Once done then restart your system, SrTasks.exe won’t be running anymore in the system background and consume high CPU resources. If the issue still exists then follow the next method:
Method II: Activate Performance Troubleshooter
- Press the Windows key
- Type Troubleshoot Settings and click on it

- Select the Troubleshooting option.
- If there is any issue with the system it will show
- Execute the application and wait for few minutes to finish it

Once done then restart your Desktop/Laptop.
Read next:


