
Usbehci.sys stands for USB Enhanced Controller Interface and is an essential Windows Driver. In computer science, a driver is typically a program that operates and manages a specific type of device connected to the computer.
A driver can retrieve information from the internals of the operating system and essentially acts as a translator for communication between the applications and the hardware.
The usbehci.sys is the Windows component that enables the system to execute the USB Ports to connect to the devices like Mouse, Pen-drive etc. Without this software, your computer would be unable to install the Windows Operating System correctly and the USB port capabilities would be rendered useless.
Quick Overivew
File Size and Location
The usbehci.sys application is located in C:\Windows\System32\drivers\ folder and its size is about 98 KB. However, there could be a maximum of 3 usbehci files that can be located under C:\Windows\System32\DriverStore\FileRepository\ folder in Windows 10. The application can also be referred to as a EHCI eUSB Miniport Driver file and it is classified as a Dynamic Link Library (DLL)/Win64 EXE file type.
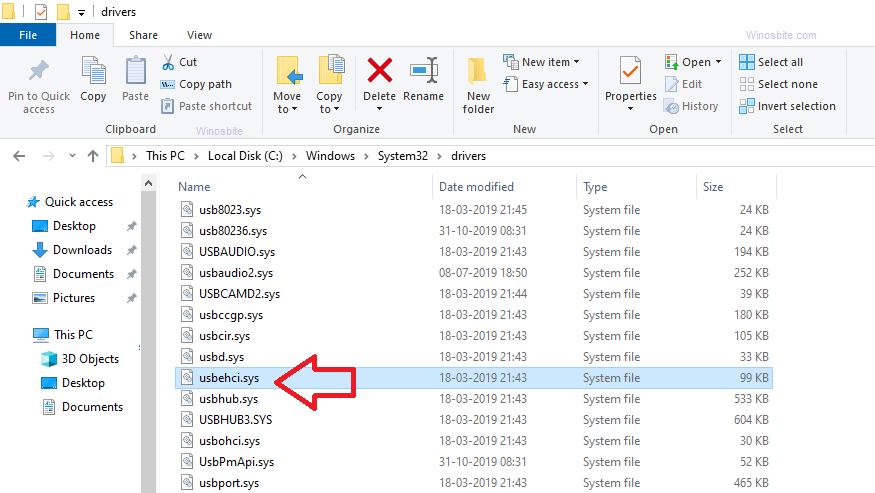
This is how a usbehci.sys file will look like in a Windows 10 PC:
The Blue Screen of Death (BSoD)
When it comes to SYS files such as usbehci.sys, the most common issue that users face is the Blue Screen of Death. It means that the system crashes, where the operating system has reached a point of unsafe operation, and it is usually caused by fatal internal errors, such as the failure of general hardware or the termination of critical processes. BSOD errors also arise when users perform a failed Windows update.
However, in many cases malware can also cause the corruption of software which can lead to BSoD error, so remember to perform regular scans to ensure that your computer is free from any suspicious malware or virus.
Other Usbehci.sys Errors
Many users have a complaint that as soon usbehci.sys errors show up, the mouse cursor gets stuck and they are not able to perform any task. And this issue still remains there even after reinstalling the mouse pointer driver.
How to Resolve usbehci.sys Errors
The symptoms of usbehci.sys errors are:
- Usbehci.sys could not be found.
- Windows failed to start – usbehci.sys
- Usbehci.sys failed to load.
Here are few methods that can be used to get rid of usbehci error:
Method 1: Run sfc/scan
The first attempt should be to run sfc/scan that will check any corrupt or damaged files on the System and repair them if required. You may watch this video or follow the below steps:
- Press Windows+R button
- Type cmd and click on OK
- Now, type sfc/scan and hit the Enter button on your keyboard
- Let the command tool to execute the process and finish it.
- Once done, then restart the system.
Hopefully, the above method will fix the issue, if not then follow the next method:
Method 2: Uninstall Office Access 2010 (Or related software)
If your system just had a recent installation of MS Office Access or any other germane services, then try reinstalling the software.
- Press the Windows button.
- Type Control and hit the Enter button
- Click on Uninstall a Program
- Locate and double click on MS Office Access
- Follow the instructions for uninstallation.
After the uninstallation, make sure to reboot your PC and reinstall the service again.
Here is how to fix the MS office error 25004.
Method 3: Windows Update
If you are using Windows 10 and not updated the Operating System for a long time then also usbehci.sys error messages may appear. Therefore it is recommended to always keep your system up-to-date:
- Press the Windows button.
- Type Check for Update and click on it
- If it is Paused then click on Resume Update

- Now, it will show available updates, click on Install Updates
- Reboot your computer after the update.

Method 4: System Restore
This should be the last option and should be used only when all of the above-mentioned method not worked:
- Press the Windows button on your keyboard
- Now, type ‘System Restore’ and hit Enter.
- Enter the Admin password if it asks for.
- The System Restore wizard will provide instructions to select an applicable restore point, you just need to heed the wizard.
- Choose the restore date and click on the Next button
Let the system finish the process and once done then restart the PC to take effect.


