
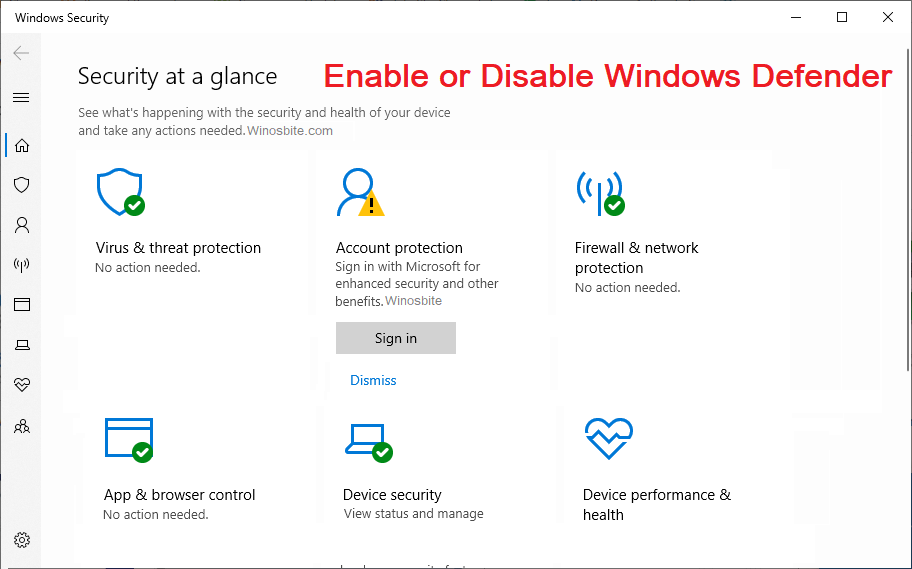
Windows Defender is a free, pre-installed antivirus program in Microsoft Windows operating system created by Microsoft Corporation. Windows Defender includes several advanced features like Real-time protection, Browser integration, and Application Guard. Although Windows Defender is an excellent antivirus program (having achieved 6 out of 6 points in the detection rate of various malware samples), there are many third-party Antivirus Softwares available which have got more features, frequent updates, and better user interface.
If you have bought a third-party antivirus program, you might want to disable Windows Defender. Follow this article to learn some simple ways to disable/turn off Windows Defender.
Quick Overivew
Windows Defender Vs 3rd-party Antivirus Software
The current Windows Defender is surely capable enough to cater to your basic needs. It offers several advanced features found in shareware antivirus software. But how does it fare against paid third-party antivirus Softwares? Decent enough. Here are the major differences I found between Windows Defender and third-party software.
- Virus and Spyware protection: Most of the well-known third-party antivirus software had better detection capability than Windows defender, allowing them to detect extremely rare and new threats.
- Virus scan speed: They are faster than Windows defender in full and quick scan speeds.
- Very few of them had lesser resource usage on Windows. This makes them faster and more optimized than Windows Defender.
- They update their virus database more frequently than Microsoft’s Windows Defender.
- They have a more user-friendly interface than Windows Defender.
In case you are planning to get third-party antivirus software, or just want to temporarily disable Windows Defender, you can read the complete article.
Is it safe to disable Windows Defender?
It is safe to disable Windows Defender if you have installed third-party antivirus software. Disabling Windows Defender is the right thing to do in that case, as both programs running simultaneously will eat up resources (processor and memory) and provide no purpose. Also sometimes, Windows Defender falsely identifies a file as a threat, so it is safe to temporarily disable it.
If that’s not the case, disabling Windows Defender can expose your system to viruses and malware from across the internet and external storage devices. This can infect your PC and will lead to data loss, system instability, and errors. We don’t recommend disabling Windows Defender permanently if you don’t have third-party antivirus software installed.
The following methods will help you disable Windows Defender according to your need (Permanently or temporarily).
Methods to disable Windows Defender
Disable Windows Defender Permanently
First, you need to disable tamper protection
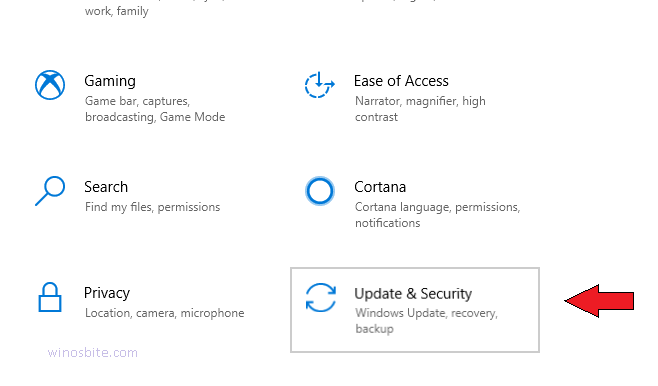
1) Open Settings and choose Update and Security option

2) Left-click on Windows Security in the left panel
3) Click on Virus and Threat Protection

4) In the new window, click on Manage Settings under Virus and Threat Protection Settings

5) Turn off the Tamper Protection toggle switch.
Now, to disable Windows Defender
1) Press Windows+R to launch the ‘Run’ application
2) Type in regedit and press ENTER to open Registry Editor
3) Copy and paste this directory in the text field at the top and press ENTER or manually locate it yourself
-
Computer\HKEY_LOCAL_MACHINE\SOFTWARE\Policies\Microsoft\Windows Defender
4) Right-click Windows Defender folder and click on New -> DWORD (32-bit) Value

5) This will create a new file in the right panel, rename it to DisableAntiSpyware

6) Double click to open the DisableAntiSpyware DWORD file
7) In the Value Data text field, enter “1”, then click OK

8) Restart your PC
Enable Windows Defender again
To enable Windows Defender again, set the Value Data to “0” or delete the DisableAntiSpyware DWORD file.
Disable Windows Defender Temporarily
This method will let you turn off Windows Defender for once. After a reboot, it will go back to normal functioning. This method is perfect for the situation when you need to access important files on external storage and don’t want the risk of data loss because of the files being wrongly identified as a threat.
1) Open Settings and choose Update and Security option
2) Left-click on Windows Security in the left panel
3) Click on Virus and Threat Protection
4) In the new window, click on Manage Settings under Virus and Threat Protection Settings
5) Turn off the Real-time Protection switch

Now your Windows Defender won’t scan your PC until restart.
If you are planning to disable it then you may consider windows defender similar antivirus that can keep your PC secured.
Exclude files or folders from getting scanned
Using this method, you can keep Windows Defender turned on while specifying it to not scan a certain folder or file. To do this,
1) Open Settings and choose Update & Security option
2) Left-click on Windows Security in the left panel
3) Click on Virus and Threat Protection
4) Go all the way down, look for an option called Exclusions
5) Click on Add or remove exclusions under Exclusions

6) Use the +Add an exclusion button to exclude Files, Folders, File types, or a Process.
Check how to fix Windows Defender error 0x800106ba.
Conclusion
Windows officially allows you to disable the built-in security temporarily. Here, we covered the methods to disable Windows Defender temporarily and permanently. I hope this article helped. In case of queries and suggestions, don’t mind leaving us a comment down below or contacting us.

