
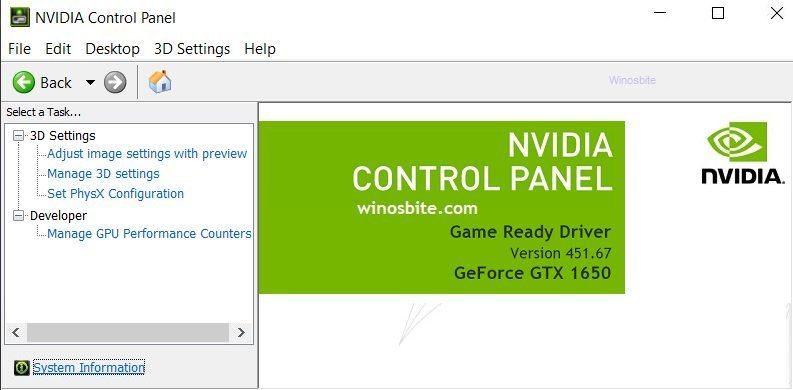
NVIDIA control panel is the most important software component of an NVIDIA graphics card driver. Sometimes it’s missing and not visible in the Control Panel. It allows users to have complete control over the display and 3D Settings of applications on your PC along with several other settings like Nvidia PhysX, Digital Audio, Desktop Color Settings, Multiple Displays, etc. Many users experience a problem which makes the NVIDIA control panel missing, either from the right-click menu on the desktop or entirely from your PC.
If the NVIDIA Control Panel is missing then follow the below steps to fix this on your Windows 10. But before we move ahead, it’s important to understand the main causes behind this issue.
Quick Overivew
What causes the NVIDIA Control Panel to go missing?
There could be several reasons due to which your NVIDIA control panel is not showing up. Some of them are as follows:
1. Update conflicting with the driver: It is extremely rare, but in some cases, your system update can conflict with the NVIDIA drivers which consequently removes the NVIDIA control panel. In this case, either a new NVIDIA update can fix the issue, or going back to the previous version can help.
2. Corrupted files: Corrupted driver files or NVIDIA control panel’s corrupted executable can cause this issue.
3. Incorrect Registry entries: Registry entries on our PC control the settings and process our device is configured to use. Registries can get missing or corrupted which can lead us to problems related to the NVIDIA control panel.
Let us proceed to some methods to fix the issue.
Methods to fix NVIDIA control panel missing issue
Open NVIDIA control panel manually to Fix NVIDIA Control Panel Missing Issue
Although this method may or may not fix the NVIDIA control panel missing issue, you can still use it to run the control panel application. All you have to do is to manually run the NVIDIA control panel UI application (nvCplUI.exe) which can be done in various methods.
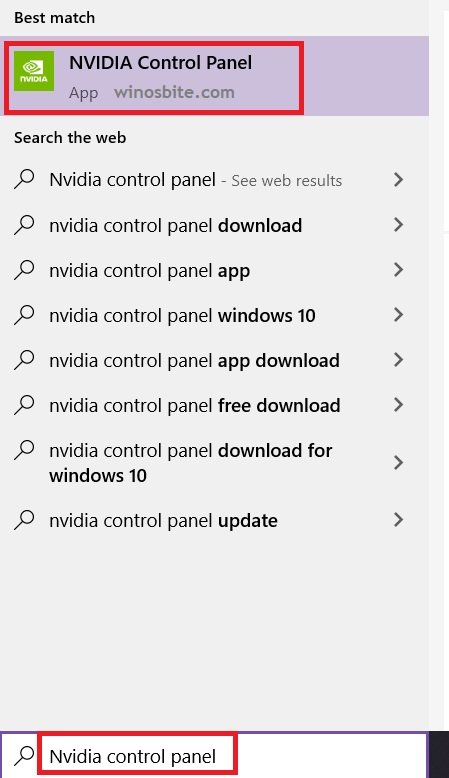
A) Using the start menu-
Bring up the start menu by pressing the Windows key on your keyboard and simply search for the NVIDIA control panel application, then open it.
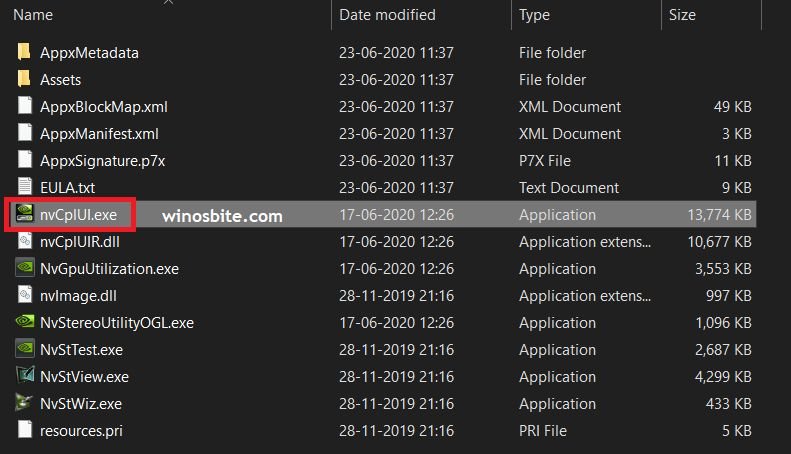
B) Go to the application location-
- Typically, the NVIDIA control panel can be found at this location: C:\Program Files\NVIDIA Corporation\Display.NvContainer or C:\Program Files\NVIDIA Corporation\Control Panel Client
- However, in laptops, where the drivers come preinstalled, it can be with a different name but the location is C:\Program Files\WindowsApps\NVIDIACorp.NVIDIAControlPanel_8.1.958.0_x64__56jybvy8sckqj
- If you can’t find the application, search for nvCplUI.exe in the file explorer search indexer.
Open the nvCplUI.exe file which will run the NVIDIA control panel. [You can create a shortcut for this application on the desktop: Right-click the .exe file and click on Send to > Desktop (create shortcut)]
Unhide the NVIDIA control panel to Fix Missing NVIDIA Control Panel
One of the reasons that you are not seeing the NVIDIA control panel on your desktop right-click menu is that it is just hidden. To unhide the NVIDIA control panel, use the following steps-
1. Search for Control Panel in the start menu

2. Make sure that the view type is selected as Large icons (See the top right corner of the control panel window)

3. In the list of options, choose NVIDIA control panel
4. The NVIDIA control panel window will open, from the top left corner, click Desktop and check the option ‘Add Desktop Context Menu’

5. Close the NVIDIA control panel and check if it appears in the right-click desktop menu.
Restart NVIDIA services
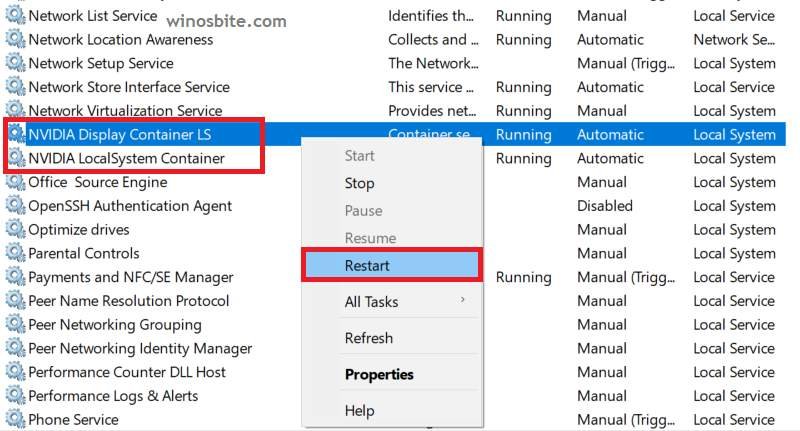
Sometimes it can happen that the NVIDIA services are not running in the background which can cause issues like this. In this case, we just have to restart these NVIDIA services-
1. Press Windows + R keys simultaneously to open the Run application
2. Type services.msc in the text box and press ENTER to open the Services windows

3. Among the list of services, look for all the NVIDIA services and restart them by right-clicking > Restart
Check if the problem is resolved by opening the NVIDIA control panel from the desktop or system tray.
Install the NVIDIA control panel app from the Microsoft store
We can download and install the NVIDIA control panel from Microsoft Store also. Follow the steps below to install the NVIDIA control panel from Microsoft Store:
1. Search for Microsoft Store (or simply store) in the start menu and open it

2. In the Microsoft Store application, search for NVIDIA control panel in the search bar on the top-right corner and click on the NVIDIA control panel store page
3. Press the Get button to download and install the NVIDIA control panel. Now you can access it from the start menu.
Setting NVDisplay.Container as a startup program
Many people who were experiencing the control panel missing issue, again and again, said that this method fixed the issue permanently for them. Follow the steps below-
1. Go to this directory on your computer: C:\Program Files\NVIDIA Corporation\Display.NvContainer
2. Right-click the file NVDisplay.Container.exe and click Copy
3. Start the run application using Windows + R keys simultaneously and enter shell:startup to open the startup folder

4. Paste the NVDisplay.Container.exe file inside the startup folder
5. Right-click the executable file and click on Properties
6. In the properties window, go to the Compatibility tab and check the box which says ‘Run this program as an administrator’
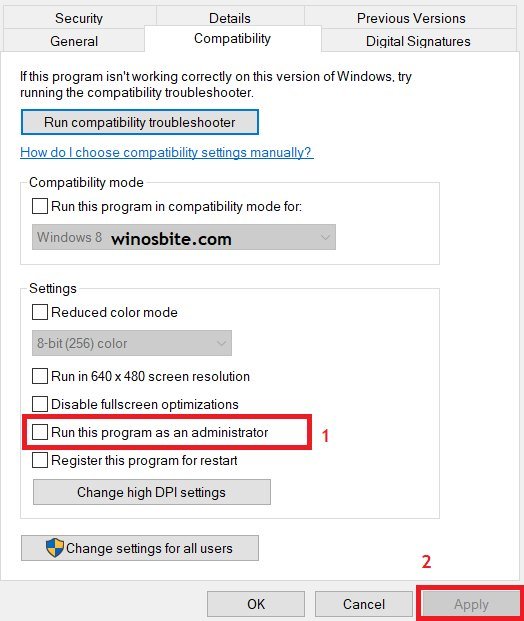
7. Apply the changes and restart your PC.
Update your display adapter driver software
If you couldn’t find the NVDisplay.Container.exe file anywhere in your PC or the previous method didn’t work for you, you can try updating your graphics card driver using the device manager. To do this, follow the steps below-
1. Press Windows + R; In the Run application which opens, enter devmgmt.msc to open the device manager

2. Under the display adapter, choose your NVIDIA graphics card and right-click on it
3. In the right-click menu, click on Update Driver
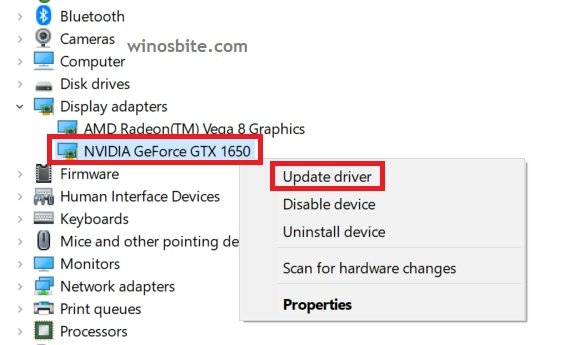
4. Click on Search Automatically for drivers and Windows will automatically check, download, and install the driver software for you.
Download and install the latest NVIDIA graphics driver manually
As I have mentioned before in the causes of this issue, it can be caused by an outdated graphics driver software. Make sure you have enough internet data because the size of the driver software is around 600 MB. We will proceed in two phases, first to download the correct driver and second, to uninstall the existing driver and installing the new one.
To know the model number of your NVIDIA graphics card-
1. Press Windows + R keys simultaneously to open the Run application
2. Type devmgmt.msc in the text box and press ENTER to open the device manager windows
3. Expand the list of Display Adapters and look for your NVIDIA graphics card, note the model.
1- Downloading the driver
1. Go to this official NVIDIA driver link: https://www.nvidia.com/Download/index.aspxn
2. Make sure you accurately know the model of your graphics card, enter the correct parameters and click on the search button
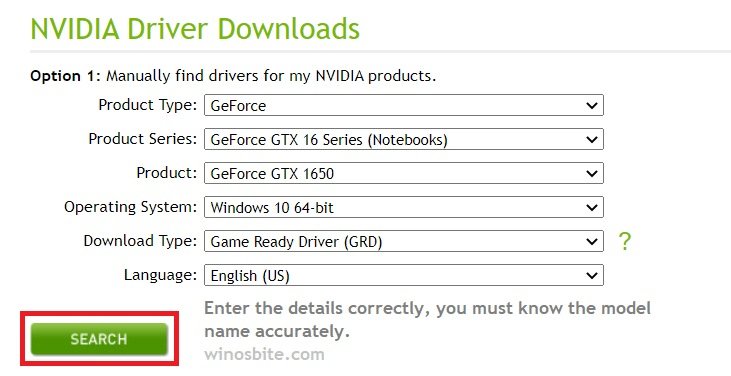
3. Download the driver, don’t open it yet.
2- Uninstall the existing driver
1. Open the run application by pressing Windows + R and type devmgmt.msc to open the device manager
2. Expand the list of display adapters and right-click on your NVIDIA graphics card
3. Click Uninstall device to uninstall the driver.

Now as the uninstallation is complete, open the driver software setup file you just downloaded and install it. Restart your PC and check if the problem is resolved.
Conclusion
One of these methods is guaranteed to fix NVIDIA Control Panel missing in Windows 10. Please don’t mind leaving us a comment or contacting us in case you have any inquiries or suggestions.
Other Fixes:

